|
- How Do I Do This - Rewiring a Black Out Light on the Cheap
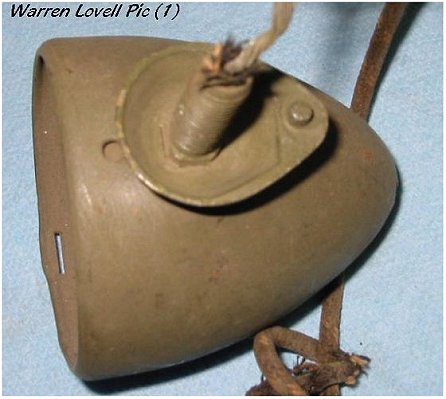
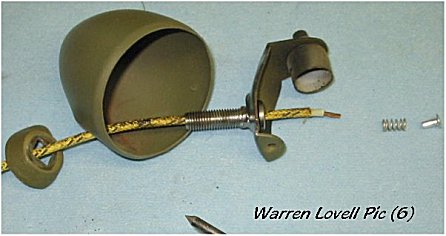
Pic 2/ (Right) Strip the B/O Light down to it's component pieces. The cap is held to the housing by the 4 flattened corners, this can be taken apart easily if you take
your time and think about what you're doing.
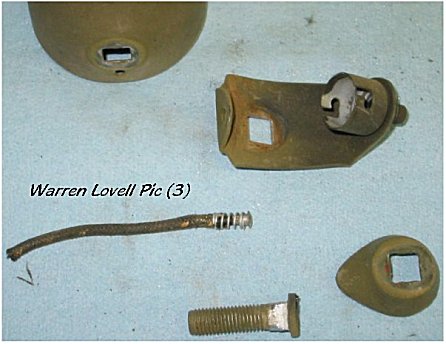
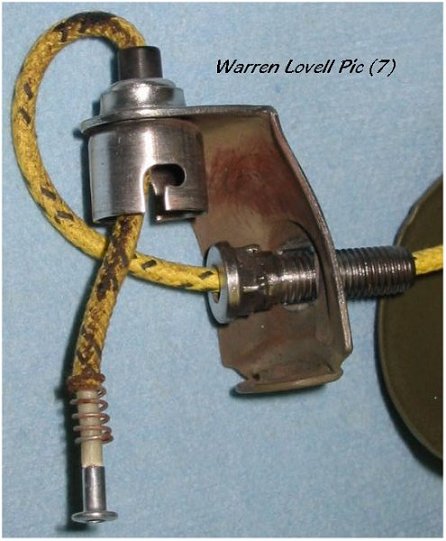
Pic 3/ (Left Pic) Remove offending wire
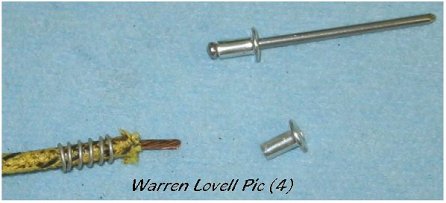
Pic 4/ (Right Pic)If you can't get a new electrical contact, use the end off a steel (not Aluminium) pop rivet
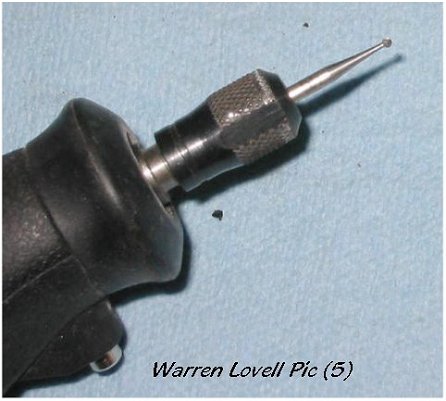
Pic 5/ (Left Pic)You may find the use of a Dremel helpful to enlarge the hole for the B/O wire.
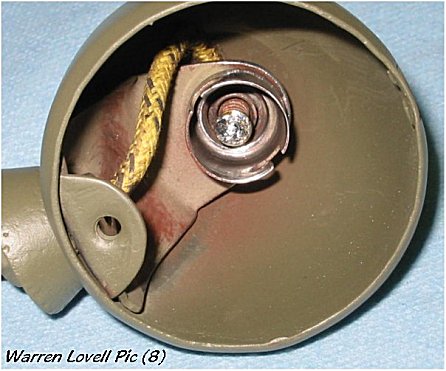
Pic 8/ (Right Pic) Put it all back together, test it, crimp back the four edges holding the foot, Job Completed....Now that wasn't so hard....
Warren Lovell put these together and laid out the directions, thanks Warren. ( Comments added to Warrens Original, all comments welcome) Jon More to come as I sort through my Notes.
|