|
RESTORING SEELITE HEADLIGHTS & BULB REPLACEMENT OPTIONS - DISASSEMBLY -
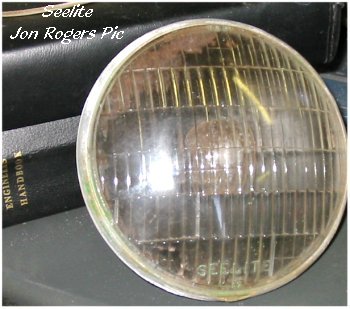
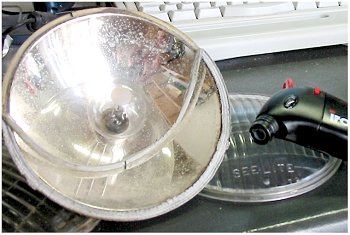
Seelite's as received or found.
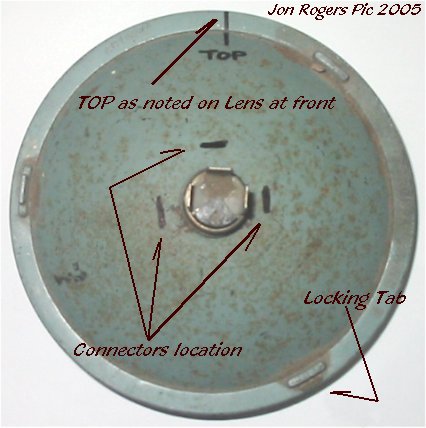
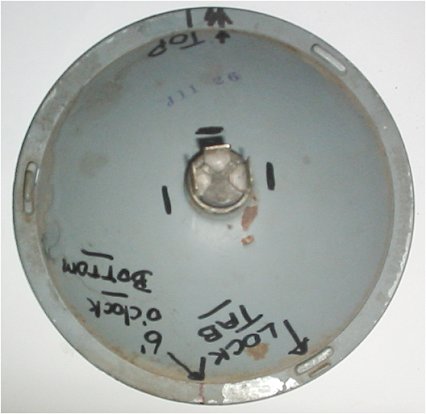
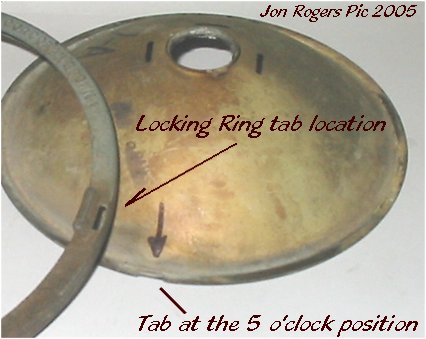
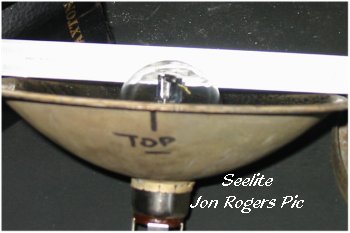
It's not necessary to mark the rear of the reflector to replace the bulb, this was done simply to show where things line up for explanation purposes. The Lens, ring and reflector will only go back together one way, all you need to know is the relationship of the terminals to the reflector notches.
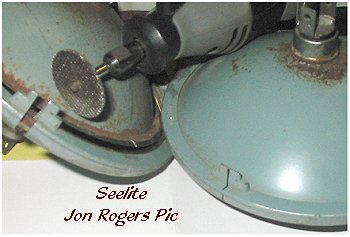
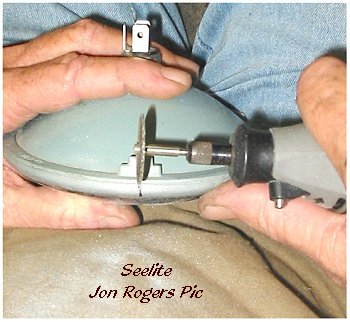
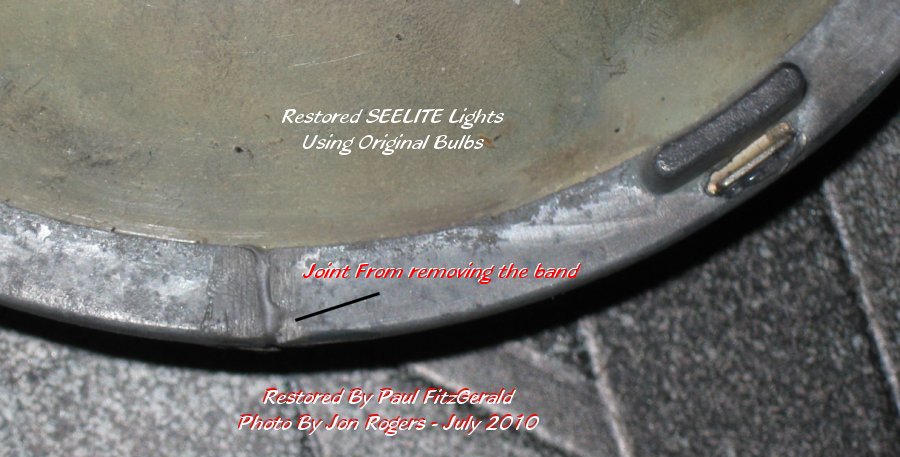
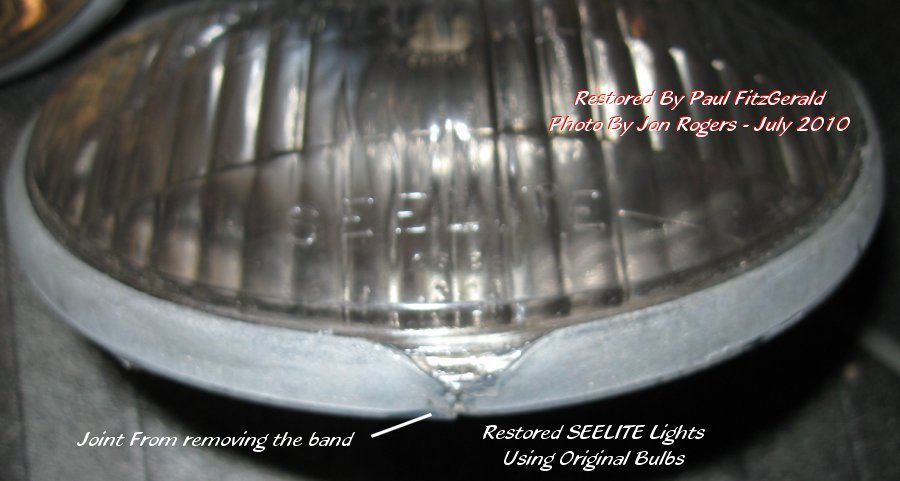
A Dremel with a thin cut off wheel works best to separate the rim from the lens and reflector
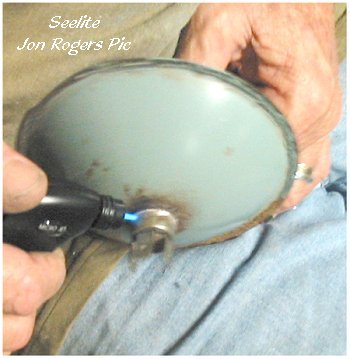
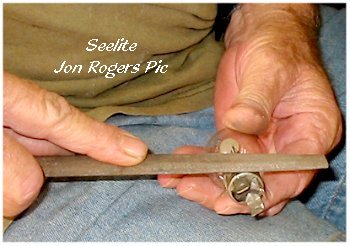
Easy to use hand held propane torch actually uses a disposable cigarette lighter- Bulb removed
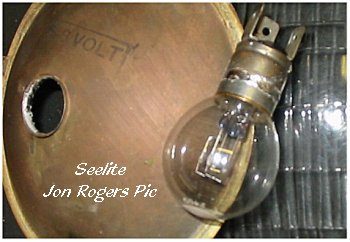
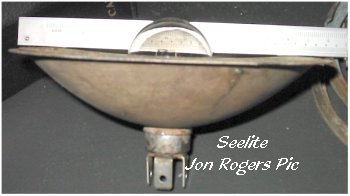
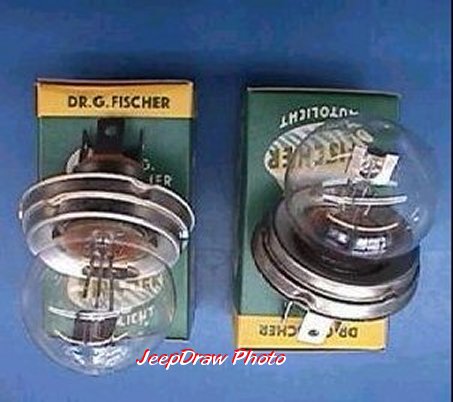
Removing old solder off a usable original bulb, Focal length check Old and New
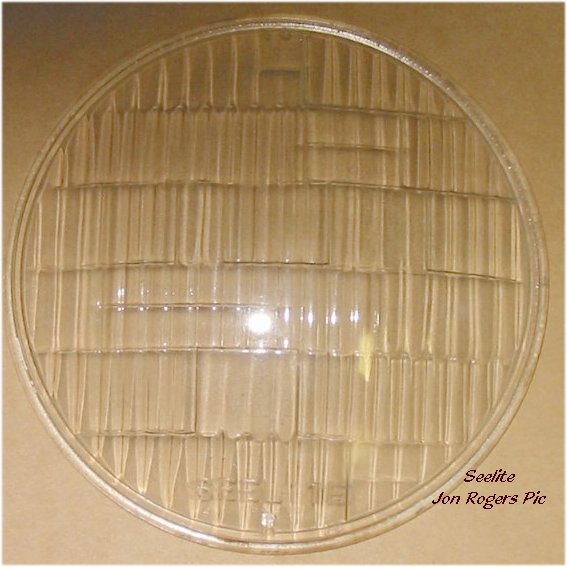
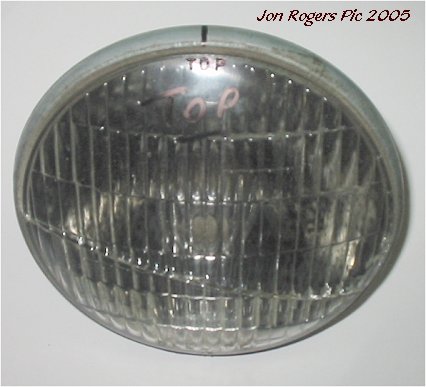
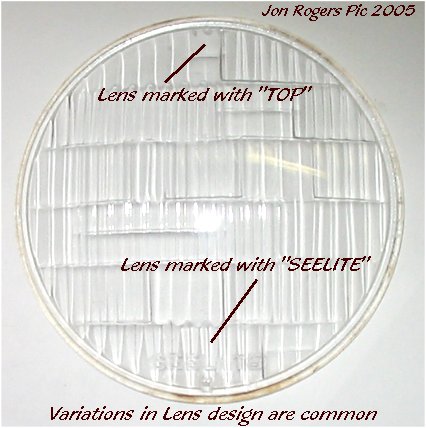
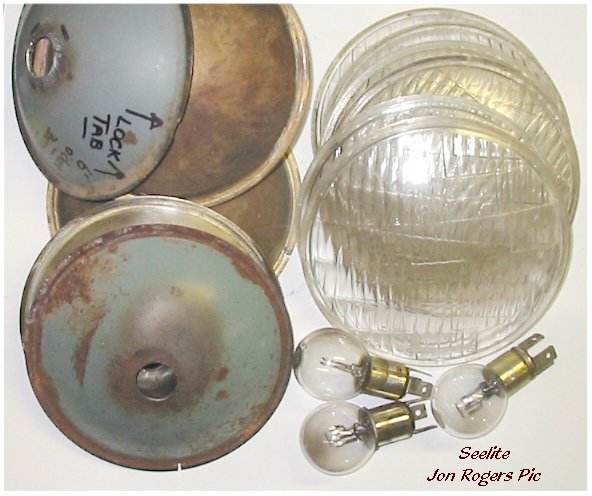
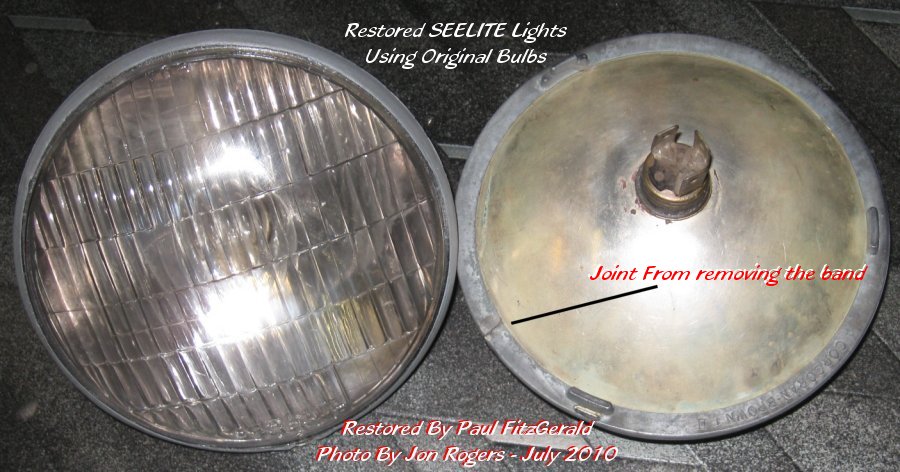
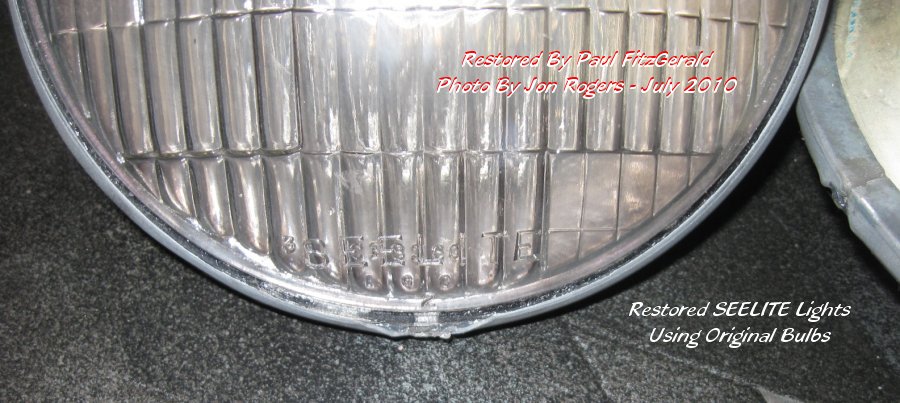
Various numbers found on Lenses Completed Headlights
Jon. |