|
Some Parts from
JeepDraw
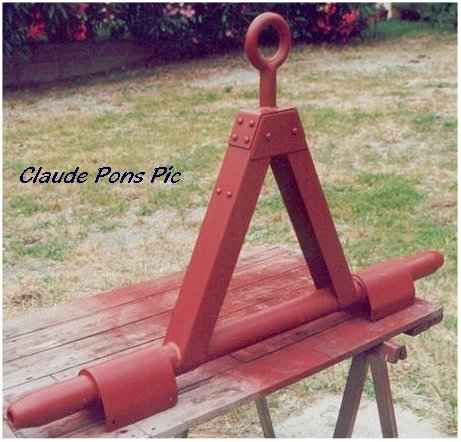
Tandem Hitch
As pieces and parts are made up for the GPW, I'll be adding photos to this
section, also photos from parts made by others from the JeepDraw drawings
which are available by request from the JeepDraw Site http://jeepdraw.com
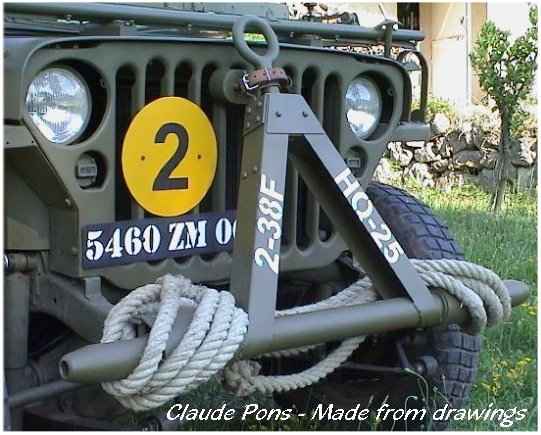
Claude Pons, France made this Tandem Hitch, and supplied me with some
missing measurements and gave me invaluable information about how to go
about making it, Thanks Claude. All pics remain the property of their
respective owners. The wood block for the grill is also available as a
separate drawing..

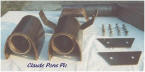


Claude's Finished Hitch
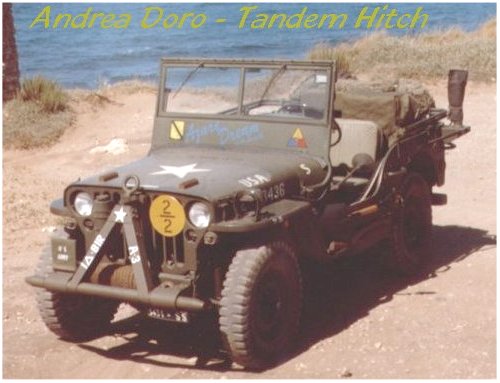
 Andrea Doro's Hitch, also made from the Drawings

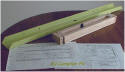
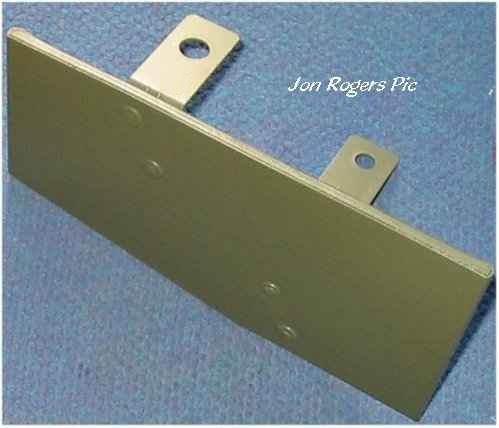
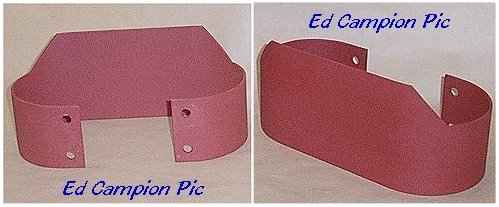
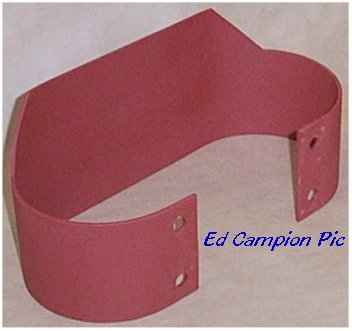
Brake Master Cylinder Heat Shield
This heat shield was relatively easy to make, taking about an
hour and a half from start to finish to produce. I used insulation fibrous
sheeting, 1/4"-6mm Hardy Flex. The steel sheeting was cut to size, (taking into
account the thickness of the sheeting), a piece of this fibrous board inserted
and traced around, cut with a saw, the ends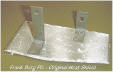 folded over, the edges trimmed. I then located the position of the "legs"
marked and drilled to suit the rivets. The rivets were turned down over a small
washer. You'll notice I added two wedge crimps to each of the bends, this helps
keep the bend at 90 degrees. The whole assembly was primed and painted OD.
The original Heat
folded over, the edges trimmed. I then located the position of the "legs"
marked and drilled to suit the rivets. The rivets were turned down over a small
washer. You'll notice I added two wedge crimps to each of the bends, this helps
keep the bend at 90 degrees. The whole assembly was primed and painted OD.
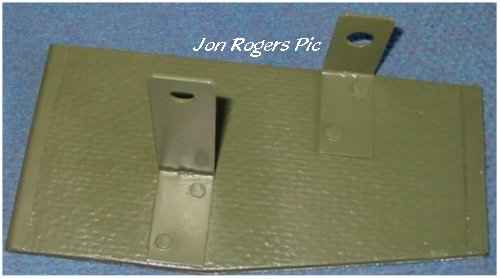
The original Heat 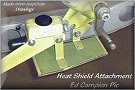 Shield ( pictured here on the right) used Asbestos,
the Hardy Flex gives the same dimpled look as the original, while at the same
time, is sufficiently similar in insulating qualities. On the left is a temporary
set-up of a heat shield made by Ed Campion showing the position of each
"leg" of the shield. Shield ( pictured here on the right) used Asbestos,
the Hardy Flex gives the same dimpled look as the original, while at the same
time, is sufficiently similar in insulating qualities. On the left is a temporary
set-up of a heat shield made by Ed Campion showing the position of each
"leg" of the shield.
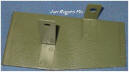
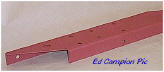
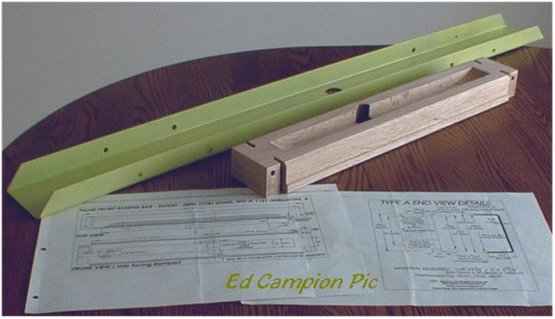
Front Bumper &
Bumper Wood Filler.
 Ideally
the filler is made from Oak, the major difference between the Willys and Ford is
the rebate on the inside of the filler.( GPW type shown in Ed's Photo) Ed
chose the straight Bumper ( Bumper with the curved ends is also available)
This Filler and Bumper were both made by Ed Campion, Canada. Ed has
also made several other pieces, his workmanship is a credit to him. Ideally
the filler is made from Oak, the major difference between the Willys and Ford is
the rebate on the inside of the filler.( GPW type shown in Ed's Photo) Ed
chose the straight Bumper ( Bumper with the curved ends is also available)
This Filler and Bumper were both made by Ed Campion, Canada. Ed has
also made several other pieces, his workmanship is a credit to him.
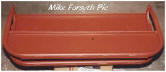
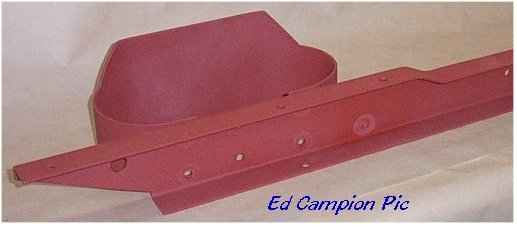
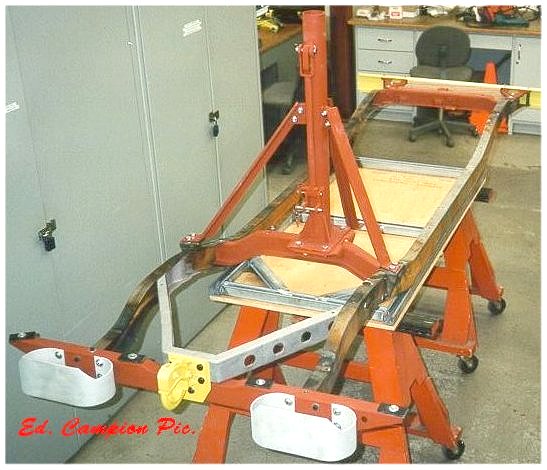
Rear Crossmember & Bumperettes
  
When I restored the Cj3b instead of the long step rear bumper
that is usually associated with the Cj
 series,
I fitted bumperettes, so I had some experience in making them, and I also
replaced the rear crossmember, although that was different to the MB/GPW, the
principals remain the same. The drawing were done using my original F
stamped bumperettes and the crossmember from the '44 GPW. Mike Ramsey in South
Australia, measured up several other cross members to verify what I had was
correct, we found a few slight differences when it came to the "Foot" holes for
the spare wheel support, but these differences only amounted to 1/16", and these
can be taken out with the elongated slots in the "Foot". Again Ed Campion sent
me pics of the completed items, and once again his workmanship is evidently
superior to the usual reproduction rubbish that comes out of South East Asia.
Well done Ed. the GPW is looking good. series,
I fitted bumperettes, so I had some experience in making them, and I also
replaced the rear crossmember, although that was different to the MB/GPW, the
principals remain the same. The drawing were done using my original F
stamped bumperettes and the crossmember from the '44 GPW. Mike Ramsey in South
Australia, measured up several other cross members to verify what I had was
correct, we found a few slight differences when it came to the "Foot" holes for
the spare wheel support, but these differences only amounted to 1/16", and these
can be taken out with the elongated slots in the "Foot". Again Ed Campion sent
me pics of the completed items, and once again his workmanship is evidently
superior to the usual reproduction rubbish that comes out of South East Asia.
Well done Ed. the GPW is looking good.
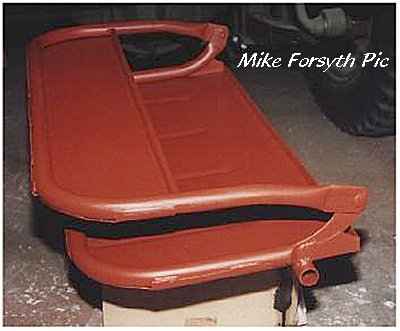
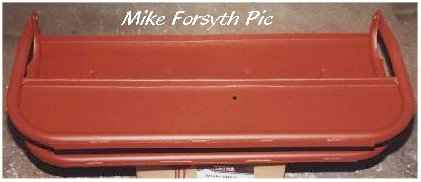
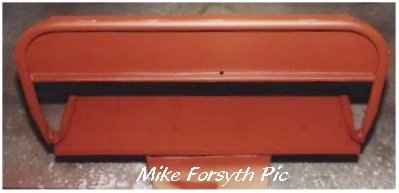
Ford GPW Rear Seat
  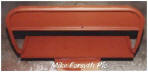   The
rear seat on Fords is different to the Willys in the way the sheeting is
attached to the frame. The major difference is that the Ford sheeting goes to
the outside and is spot welded whereas the Willys is form fitted to the inside
of the frame. Mike Forsyth made up this seat, the frame bends are a" little
tricky" to get right, but the sheeting is straight forward to accomplish. Nice
seat Mike, and thanks for the pics. The
rear seat on Fords is different to the Willys in the way the sheeting is
attached to the frame. The major difference is that the Ford sheeting goes to
the outside and is spot welded whereas the Willys is form fitted to the inside
of the frame. Mike Forsyth made up this seat, the frame bends are a" little
tricky" to get right, but the sheeting is straight forward to accomplish. Nice
seat Mike, and thanks for the pics.
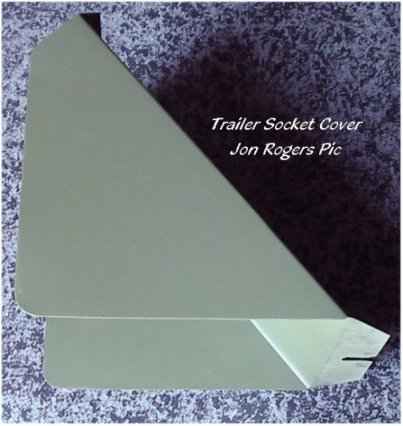
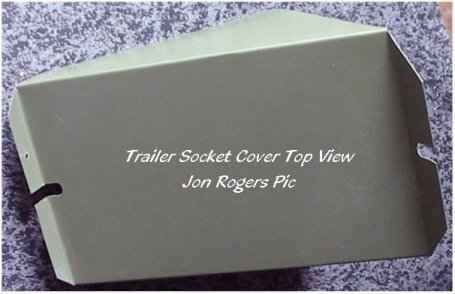
Trailer Coupling Cover - For Models fitted with the Trailer Socket
 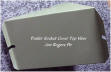
This is another very easy part to make, I don't normally
reproduce drawings found in books or sites, but as the one in the All
American Wonder book varied somewhat from the original I had managed
to borrow I thought it was worthwhile doing it. After marking out the
cover, I was fortunate enough to gain the sympathetic ear of a friend who
"just happens" to be a Plumber, with all the bending, folding, cutting
equipment I could possibly want, even a high voltage spot welder., and
after a beer or two, has allowed me to use his equipment whenever I need
it. So this took about 15 minutes to make, and another 15 minutes to do
the fiddly parts like the cut outs for the studs on the rear panel and
wheel well tool box area. I did notice though, that one of the folds could
be a little longer, as it's difficult to tighten a wing nut when fitted.
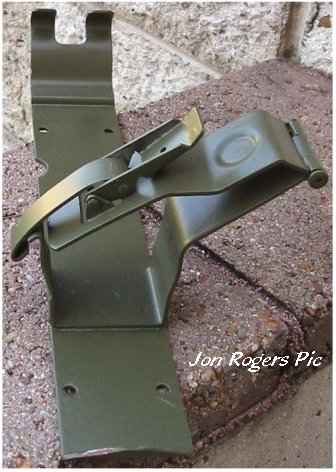
Grease Gun Bracket -
Under hood - Type A.
 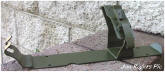  I
had a bit of fun making this, so from that you can gather I took some time
about it. Terry Peters, in Swansea, Wales, gave me the measurements of the
clip arrangement, and as always, he's fastidious when it comes to accuracy.
So after several emails I finally got it right, and once made, it fitted
like a glove. No special skills or
tools were needed, for that matter, the first time I fitted the Alemite
Grease Gun to the bracket I admit to being pleasantly surprised, as the
clip locked into position without any necessary adjustments
And the Grease Gun is painted, some were, some weren't, your choice. Mine
was a little pitted with rust, so it's how you see it, although I did use
a semi gloss paint due to the need for wiping all the time.
UPDATE:- I succumbed to the
temptation and had my Grease Gun plated in New Zealand, almost looks too
new,
See Restoration 2
for a pic I
had a bit of fun making this, so from that you can gather I took some time
about it. Terry Peters, in Swansea, Wales, gave me the measurements of the
clip arrangement, and as always, he's fastidious when it comes to accuracy.
So after several emails I finally got it right, and once made, it fitted
like a glove. No special skills or
tools were needed, for that matter, the first time I fitted the Alemite
Grease Gun to the bracket I admit to being pleasantly surprised, as the
clip locked into position without any necessary adjustments
And the Grease Gun is painted, some were, some weren't, your choice. Mine
was a little pitted with rust, so it's how you see it, although I did use
a semi gloss paint due to the need for wiping all the time.
UPDATE:- I succumbed to the
temptation and had my Grease Gun plated in New Zealand, almost looks too
new,
See Restoration 2
for a pic
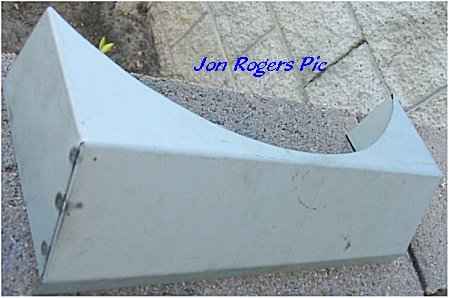
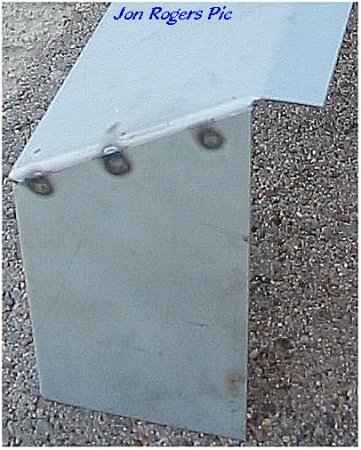
GPW Radiator Shroud -
Partly Completed
    I'm
waiting for some more steel to complete this part, so in the interim, I
only have this section done, so far it's been easy. After marking out, I
used a sheet metal nibbler to cut the curve, my Plumbers guillotine
to cut it to size ,and his folder and spot welder to stick it together.
I'm very happy with the result and the spot welder, as it reproduces the
original to perfection. I haven't drilled the two 1/4" holes into this
piece yet and as soon as I complete other parts I'll post some more pics. I'm
waiting for some more steel to complete this part, so in the interim, I
only have this section done, so far it's been easy. After marking out, I
used a sheet metal nibbler to cut the curve, my Plumbers guillotine
to cut it to size ,and his folder and spot welder to stick it together.
I'm very happy with the result and the spot welder, as it reproduces the
original to perfection. I haven't drilled the two 1/4" holes into this
piece yet and as soon as I complete other parts I'll post some more pics.
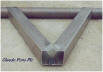
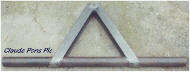
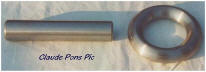
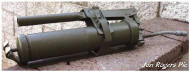
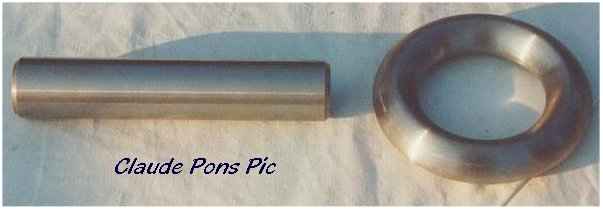
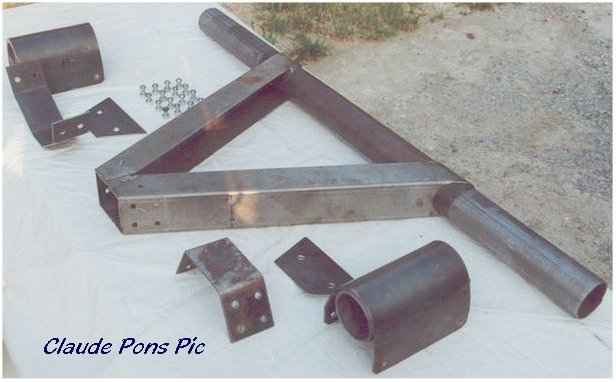
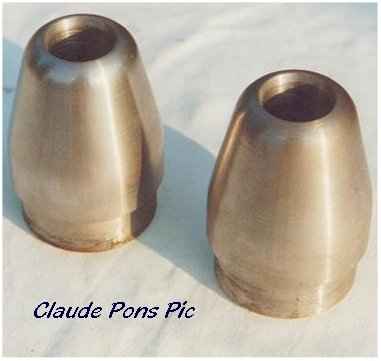
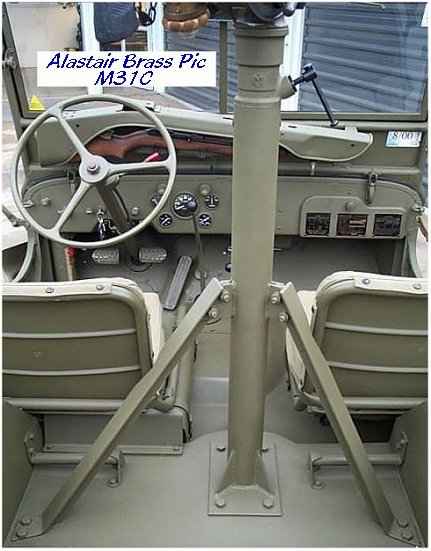
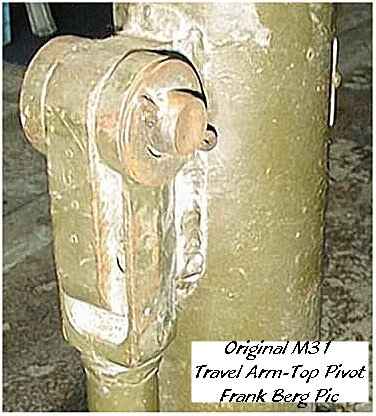
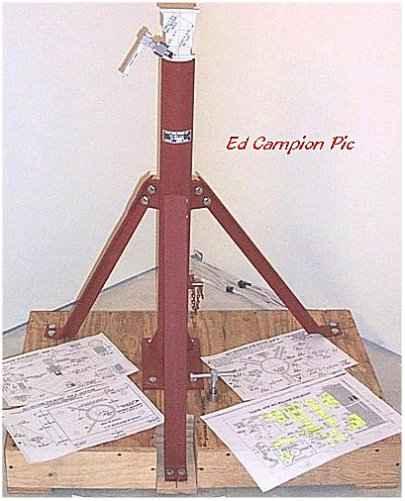
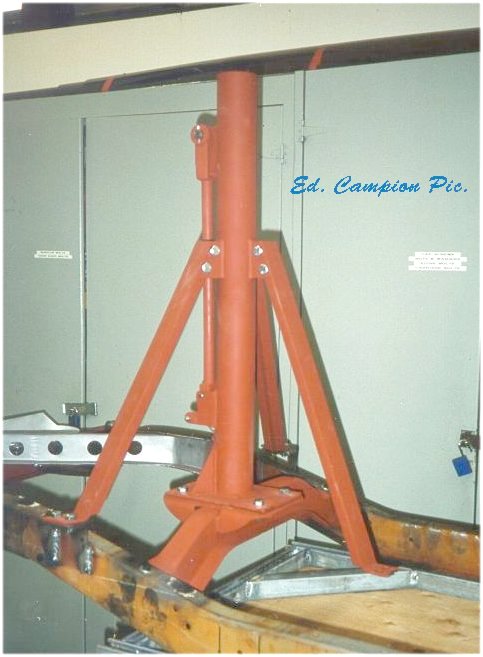
M31/M31C Machine Gun Mount
   A
considerable number of the M31/M31C plans have been sent out over the past 18 A
considerable number of the M31/M31C plans have been sent out over the past 18   months, I haven't heard of any great problems getting it made, only that the T
section of the legs is hard to come by. Here's a few that have been made, one,
an M31C (No Travel Arm) by Al Brass in New Zealand, and another, mostly
completed one, an M31 by Ed. Campion in Canada. The picture on the far right is
of an original travel arm top pivot yoke. This is part of the original M31 we
used to take the measurements from, also thanks to Charles Whiting for some of
the socket receiver measurements. Again, thanks to Frank, Al and Ed for the
pics.
months, I haven't heard of any great problems getting it made, only that the T
section of the legs is hard to come by. Here's a few that have been made, one,
an M31C (No Travel Arm) by Al Brass in New Zealand, and another, mostly
completed one, an M31 by Ed. Campion in Canada. The picture on the far right is
of an original travel arm top pivot yoke. This is part of the original M31 we
used to take the measurements from, also thanks to Charles Whiting for some of
the socket receiver measurements. Again, thanks to Frank, Al and Ed for the
pics.


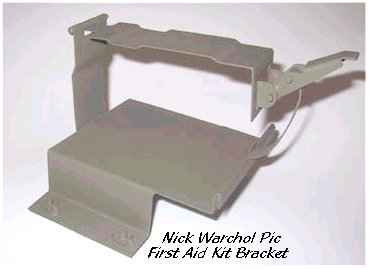
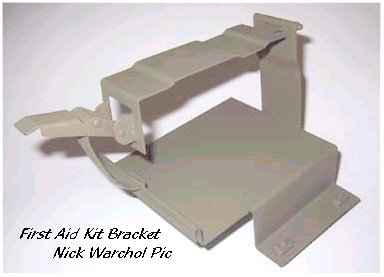
First Aid Kit Bracket
- Dash Mounted
Used for both the First Aid and Gas Casualty Kit, this
bracket was fitted to 1 in 12 jeeps. Nick Warchol,
Boxborough, MA. USA. recently made this bracket from the drawings.
An excellent example of what can be done given time and incentive. Well
done Nick, and thanks for letting me use the pics.


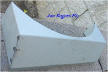
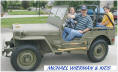
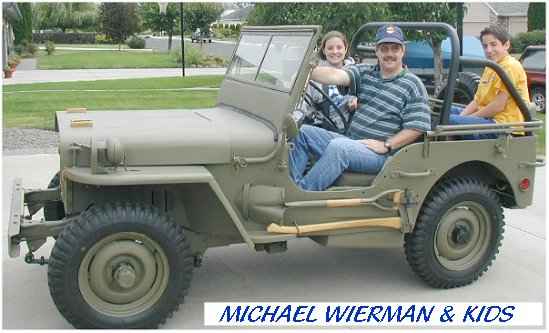
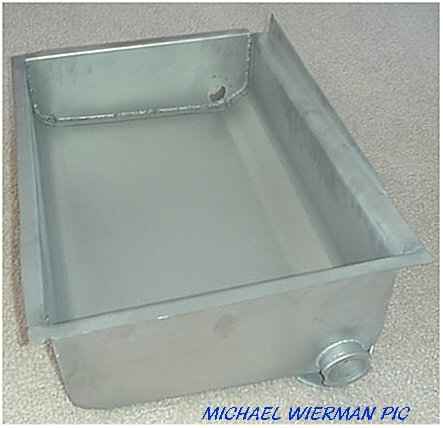
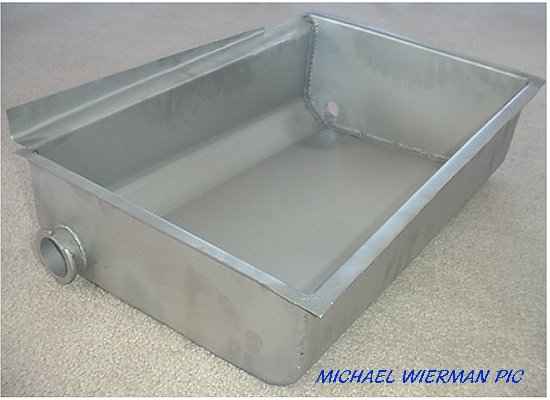
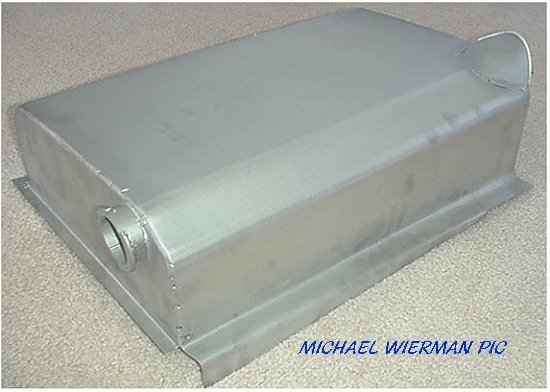
Fuel Tank Well - Later Rounded Corners
For something a little different, this Fuel Tank Well is made from Stainless
steel by Michael Wierman. Nice kids and jeep Mike.


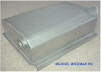
Pics of the Fuel Tank fitted and the drawing part numbers can be found on the
G503 JeepDraw site. Courtesy of Frank Berg
Pics Part A
B
C
D
E
I've been waiting for measurements for the
earlier square cornered Fuel Tank Well, as soon as they are available the
drawing will be listed on JeepDraw.
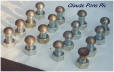
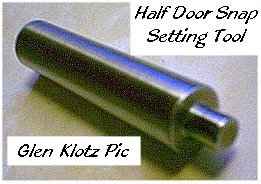
Half Door Snaps
Setting Tool
An easy to make tool for setting in the half door snaps to
the tub, the design enables the user to fit the snaps
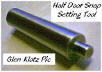 without
using force without
using force and will even fit those snaps where the ends are not visible. Just a
simple matter of slipping the snap into the hole, insert the tool into the
snap from the outside, and either a push or light tap with a hammer will
expand the back edge and lock the snap into place. ( h-door-c.pdf )
and will even fit those snaps where the ends are not visible. Just a
simple matter of slipping the snap into the hole, insert the tool into the
snap from the outside, and either a push or light tap with a hammer will
expand the back edge and lock the snap into place. ( h-door-c.pdf )
Thanks to Glen Klotz for the Pic....
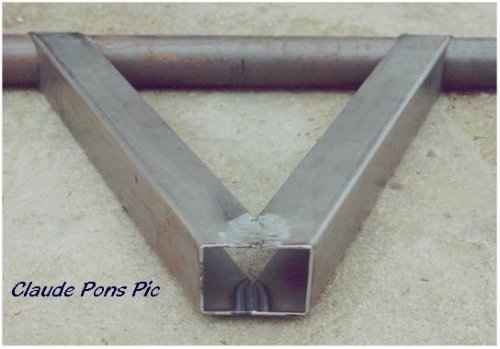
Transfer Case and Diff. Seal Replacement Tool
 Designed
By Alsadair Brass. To
see this tool in action go to http://1942willys.homestead.com/motorpoolrepairs.html
Click on the Stars Designed
By Alsadair Brass. To
see this tool in action go to http://1942willys.homestead.com/motorpoolrepairs.html
Click on the Stars
Drawings available at http://www.jeepdraw.com/misc.htm
  
Home
| 


