|
RESTORATION (4) Body Panels and Seats As I do pieces and parts up for the GPW, I'll be adding photos to this section. REAR SEAT After
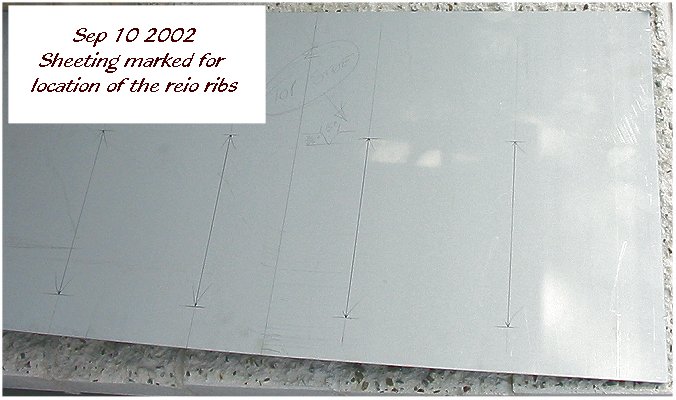
drawing up the different sheeting on the rear seat I thought it was about
time I put them into practice, and find out if what I had drawn was
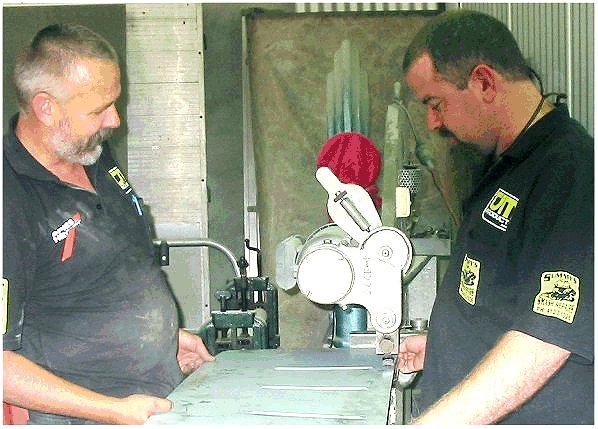
usable. After talking to my panel bloke Shane Sommerfeld at Summy's Smash
Repairs ( same bloke that did all
Having
checked that the depth, width, and profile were correct against the
original, it only took about 20
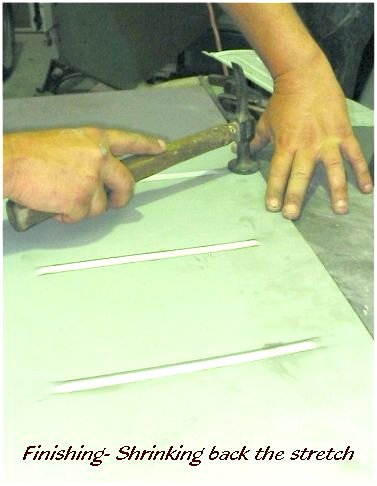
I took
the piece home, marked out the finished size, took it up to another mates
place, Steve Walker,
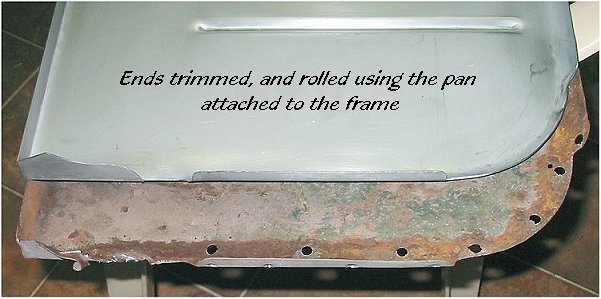
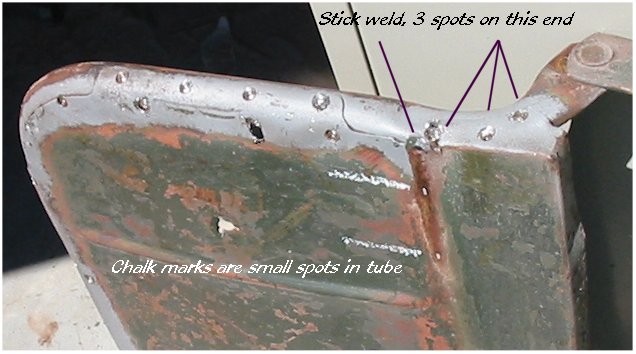
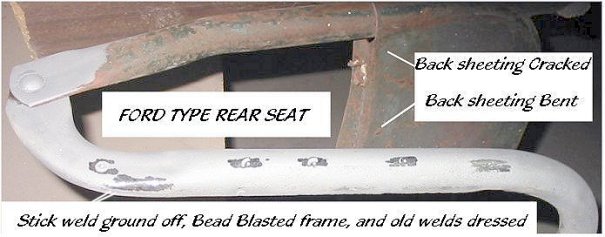
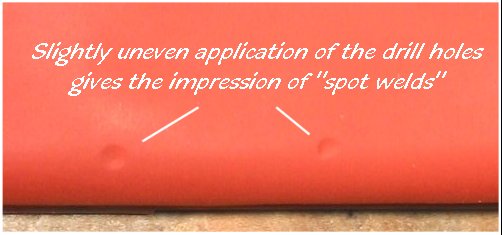
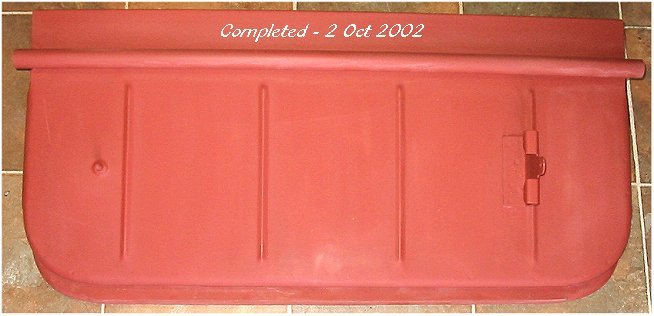
SEAT FRAME The Frame was in excellent condition with only slight rust pitting when I removed the old seat pan. I first bead blasted where all the spot welds apparent, so I could drill them out. I also took many pics where the old spots were located so I could duplicate them as near as possible with the new pan. I attached the pan back onto the frame, made some adjustments in accordance with the drawing, clamped it down, drilled using a spot drill, and brazed the pan to the frame. Caution....if you do it this way be aware of heat and what it can do to sheeting, so knowing that, alternate the "spots" and use a sponge to cool down things after each weld. Things went smoothly, with no buckling, or movement.( Whew!. that was a relief! and called for a cold one) Having
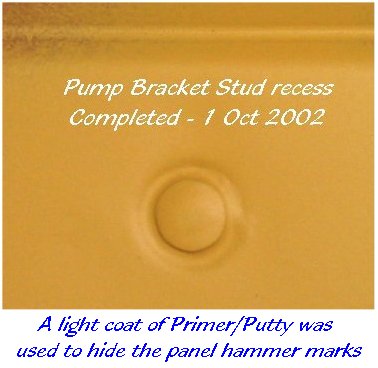
removed the old pump bracket, I made up a stud and pressed in the
recess, (Pic on the lower left) then purchased some 1' x 1/16" wall tubing
( this is extremely cheap, a length 88inches - 2.25m, cut to size was only
AU$6 - US$3, I got extra for the repairs to the top bows which I'll
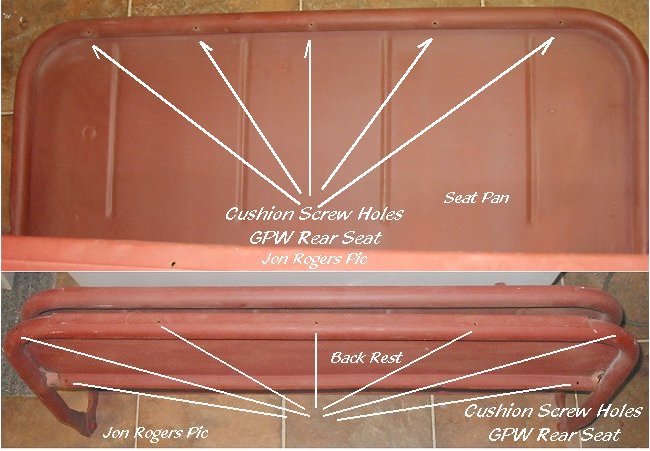
probably do next. I marked out the centre line of the tubing and drilled
1/4" holes at the intervals from the original, I just laid up the old tube
against the pan and marked the sheeting, so easy. The tubing was
clamped into place and I welded the tubing through the holes. After
each weld I again used the sponge to cool things off. If you clamp as near
as possible to the weld, ( and I used an arc welded for this not brazed) ,
you won't get any buckling, A Mig Welder would have worked even
better.
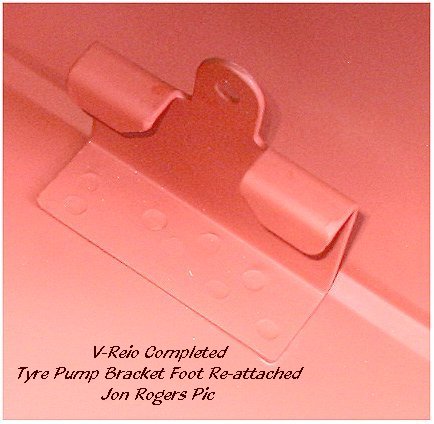
The old pump bracket was sand blasted, again I drilled through the sheeting and welded directly to the back side of the bracket. This allows the old spot welds from the original to be seen, (Pic on the right) and it makes it look the same as the original. The excess weld material was ground of, and sandblasted again and primed.
When I get this correctly painted I'll consider this part completed, but it's been fun to do. |