|
REBUILDING THE
ENGINE
- PART 1 -
- John Barton -
INTRODUCTION-
Over this last winter and spring, I rebuilt a GPW engine. As I attempted to
do with my posts about transmissions, I will try to show how anyone can do
this. This engine is a very simple and basic design, and not a bad choice
for someone to learn rebuilding. This is the way I rebuild a motor, it is
not necessarily the book method.
I think anyone who can turn a wrench, can save a lot of money by doing it
yourself.
Machine shop services cost (a lot), but by doing the disassembly/assembly
yourself- you will save some money, learn how to maintain, and understand
your jeep better. I’m not going into the theory of 4 stroke internal
combustion engines. That is available in many places. I won’t quote a lot
of tolerances, torque specs, and plast-guage. I don’t try to remember all
the figures that are readily found in the manuals (you will need some of
them). Again, this is more for people who have not been into a jeep motor. I
took many pictures; hopefully they will clarify some things that are not
shown in the basic manuals. For those with dial up, it will probably take
time to download them all. I tried to keep file size small. If you post a
picture 600 pix wide, a lot of scrolling is necessary.
If you need more detail, I can email
higher resolution images to you.
HISTORY- this engine came from a GPW that I parted out. Many of you
G503’rs have some of its parts. Bill in Albany has the frame, Dino got the
f bolts, left coaster got steering wheel, etc… I parted it because the
body was pretty shot, and it was before I found the matching number GPW that
I sold here recently. Had I known…I would have kept it for GPW parts. The
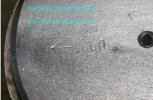
serial number on the boss is just a number without GPW. I was told that this
means it was probably a replacement motor while jeep was still in service?
pic of serial number MISSING PHOTO
They
were supposed to stamp original number on replacement. I guess instructions
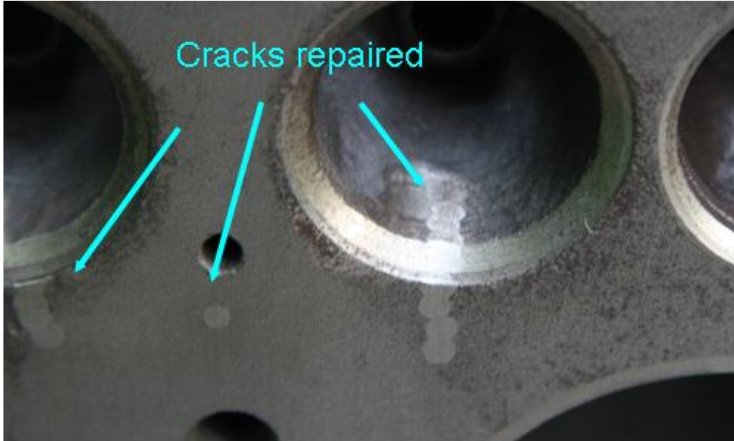
didn’t say anything about brand?? I pulled the motor and stripped it. Some
cracks on the head surface were visible, so I took it to a welder who
specializes in block repair. He baked the block overnight in an oven at 1200
degrees- totally clean! All foreign material is just dust and blows away. He
magna-fluxed it. A strong magnet is applied to block, iron particles are
sprinkled on …if there is a crack... the particles line up. There were
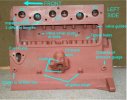
more cracks than I had seen, but nothing that he couldn’t repair.
pic of cracks.
B
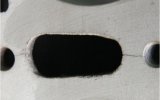
This
block must have been severely overheated once. Two cracks went from valve
seats to the piston walls, and another was along top of water jacket. He
told me that I needed to have those pistons sleeved, so that he would have a
good footing for his repairs, welding or pinning.
DIAGNOSIS- this engine was rebuilt because it was broken!. That is not
always the case. This engine is getting rare, if we want original jeeps, we
need to rebuild them.
There is no readily suitable substitute. Mileage, is usually the primary
reason for rebuild. Our jeeps probably don’t get enough mileage. Short
runs during a few months of the year are actually more maintenance intensive
than everyday usage. They don’t get warmed up, acid and moisture build
up…don’t get flushed with normal oil changes, etc. That is bad for
motors. I don’t think they get abused with racing and towing. If you’re
not rebuilding it because you bought a jeep and are doing a ground up
restoration- the most common reasons for rebuild are oil usage and oil
pressure. A well-maintained engine can go 300 or 400K. When oil pressure
goes south, regardless of the mileage- it is time to rebuild. If oil is
going out the tail pipe because of worn rings and valves (no compression)-
it is time for a rebuild. Other symptoms are noises from bearings or
pistons. But, noises usually result from low oil pressure. This is a low
compression, low rpm motor. Idle oil pressure can actually be pretty low…5
lbs or so, if it stays at 20lbs or more while driving, it is OK. If you have
better numbers than that…it’s gravy. Noise diagnosis is a lengthy
separate discussion. Many are scrapped because of cracks, that is a waste!
Again, the basic disassembly and reassembly are not difficult. After you do
your first one, you’ll be looking for motors so you can rebuild a spare!
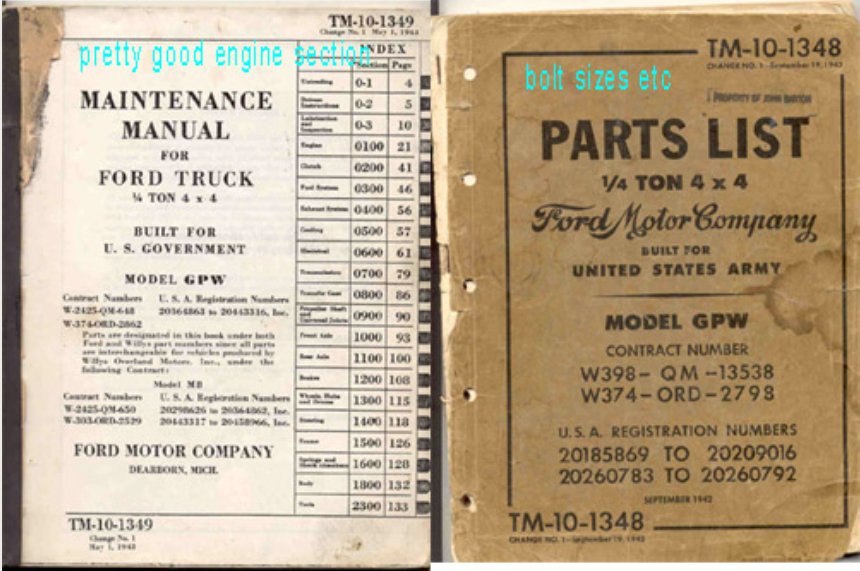
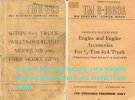
You need the basic books. You should be buying old motor books at flea
markets. the Chiltons from the 40’s and 50’s have good sections on
rebuilding. The wartime TM’s actually have some mistakes but are
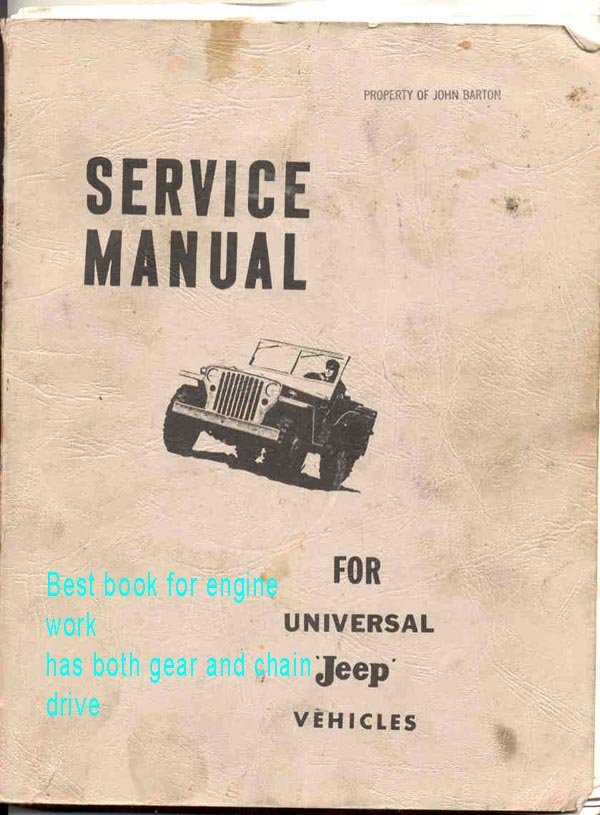
necessary. Invest in the early Cj service manual…better pic’s and
instructions.
Pics below of TM’s service manuals and the Chilton-one
You
can download the necessary TM Manuals off JeepDraw for free.
C
 D
D 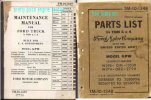 E
E 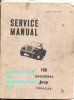 E1
E1 
It
would take too much G space to do a detailed disassembly- just follow the
TM’s and start taking every nut and bolt apart! Spray and soak with
penetrating oil for a week or more before you begin! The only special tool
needed is a valve spring compressor. I’ll show other tools you may need,
as they are required. You must have a good torque wrench. I have tools and
machines accumulated over 30 years. It would cost a lot to buy them for just
one rebuild. You can rent, etc., but, join a local chapter! You can borrow!
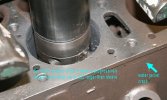
PART ONE ….MACHINE SHOP
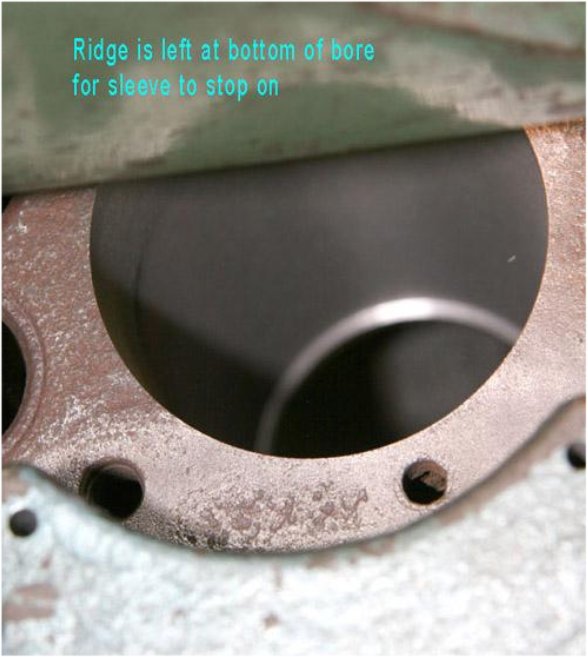
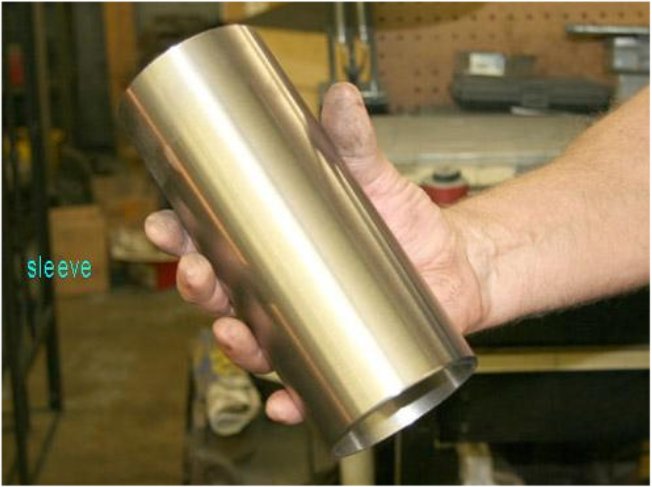
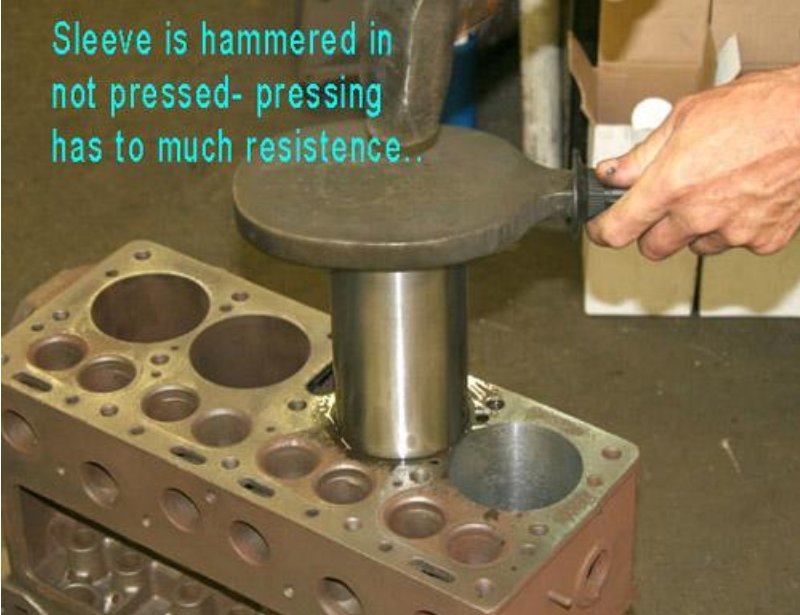
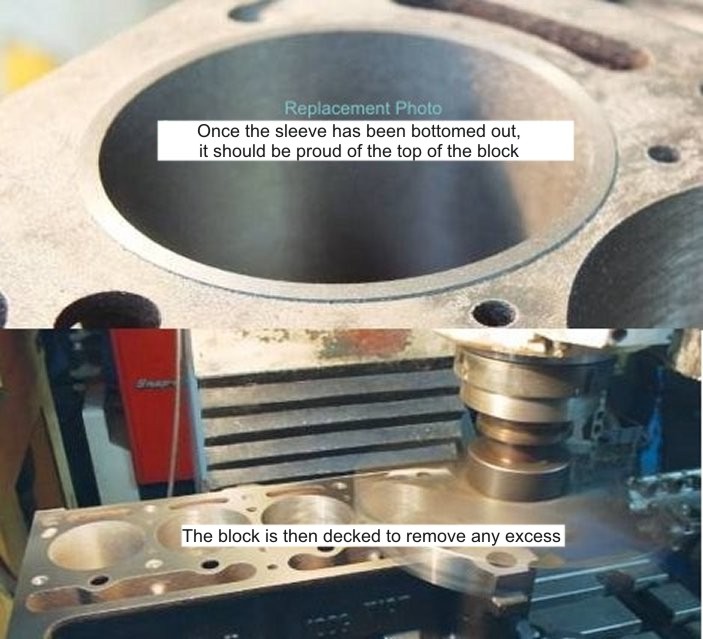
I took the block to a machine shop. I asked him to sleeve (per welder’s
requirements) two front cylinders. This involves boring out cylinder walls,
inserting a sleeve, and boring that out to either the original standard
bore, or another size depending on pistons that you want to use. New
cylinder wall is also honed (final wall surface prep for rings). When you
take a block to a machine shop, you need to take the valves and one of the
pistons. A good machine shop will:
Completely clean block, (again in this case) this shop uses a media tumbler.
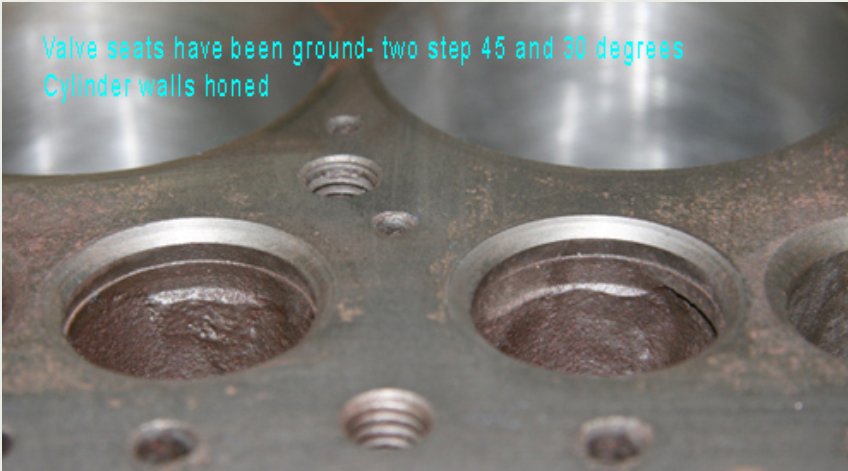
Check valve guides for wear- replace, knurl, or insert.
Grind the valve seats and valves- (I have a valve grinder for seats and
valves, but in this case there was welding on seats, and I asked him to do
it) to fit old or new valves.
I also took the crankshaft in to have it turned- grind and polish journals
for new bearings.
pics from machine shop- one
F
 G
G 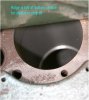 H
H 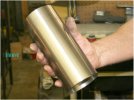 I
I 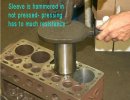
J 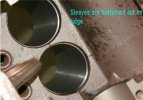 K
K 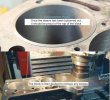
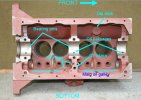
After sleeves were inserted, block went back to the welder for repairs.
L 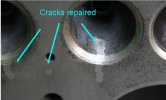 M
M 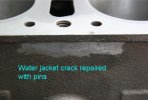 N
N 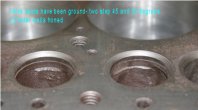
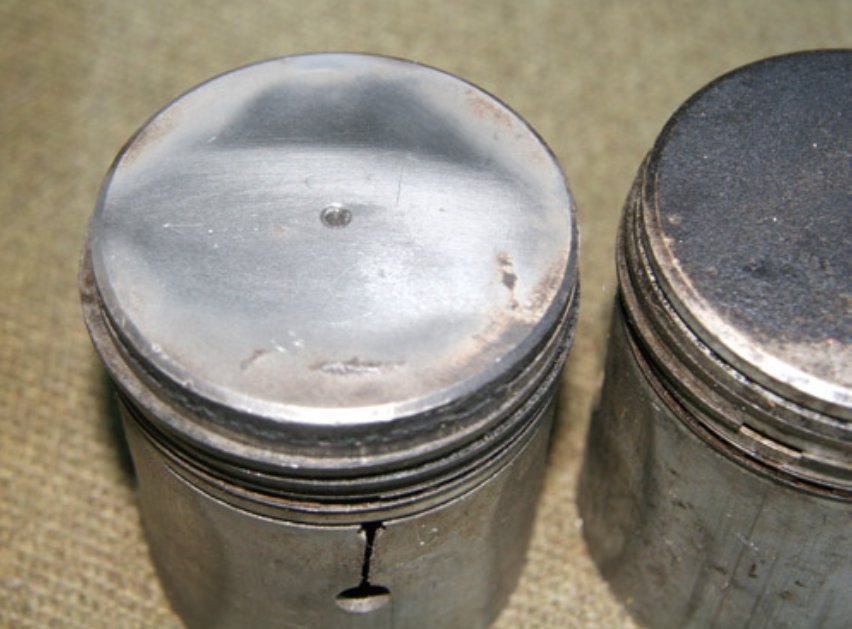
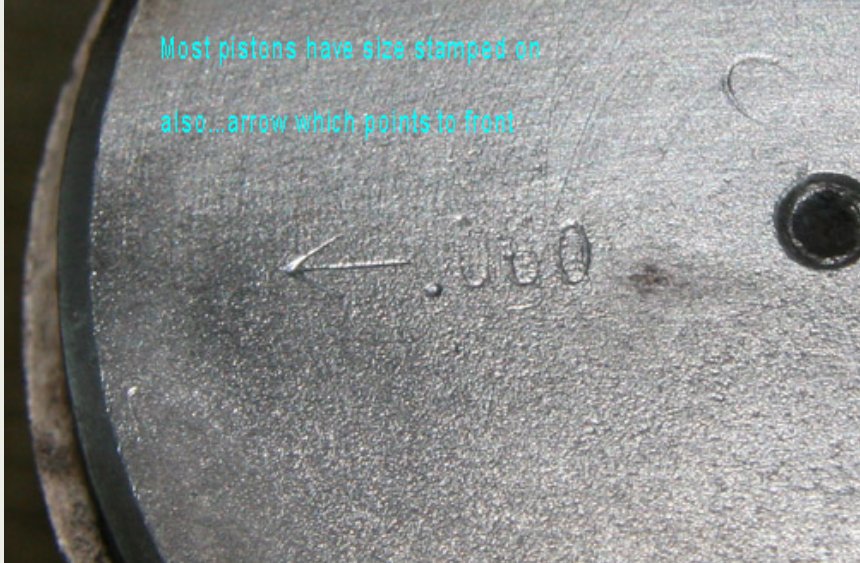
During his work, I went to find the old pistons to determine the old bore (he could
have measured), so that I could decide what size for new pistons, or if to
reuse the old ones. The old pistons were .060 oversize.
pic of old pistons.

I could have used them. This would mean boring the new sleeves to .060, and
hoping the other two cylinders were good enough to not need re-boring. These
pistons are actually ok, you clean grooves, de-carbon, new wrist pins.
Pistons only go up and down!.. they don’t really get worn. The wear on the
side is because pistons are eccentric- they change shape as they heat up.
Pistons and rings are available up to .080 oversize. I decided to sleeve all
4 cylinders, and have them re-bored .020 oversize. I have never used .080
oversize, but I just didn’t like the idea. New pistons are available for
around $30 apiece and up. I called around to dealers (including Ron) etc,
but found some NOS .020 oversize for less from a friend. Saved on shipping
etc. Local NAPA got .020 oversize rings overnight.
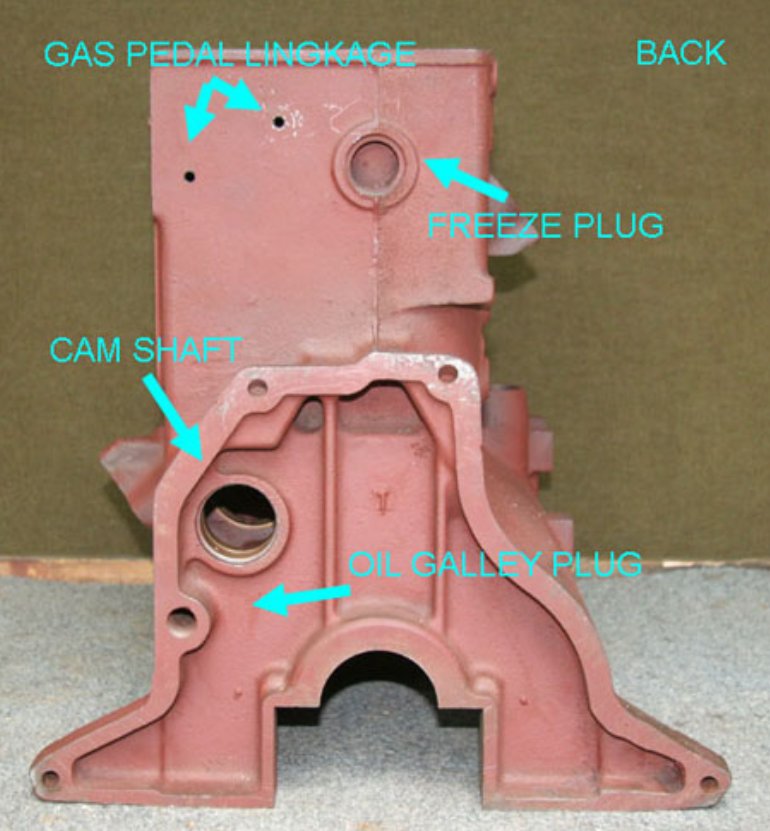
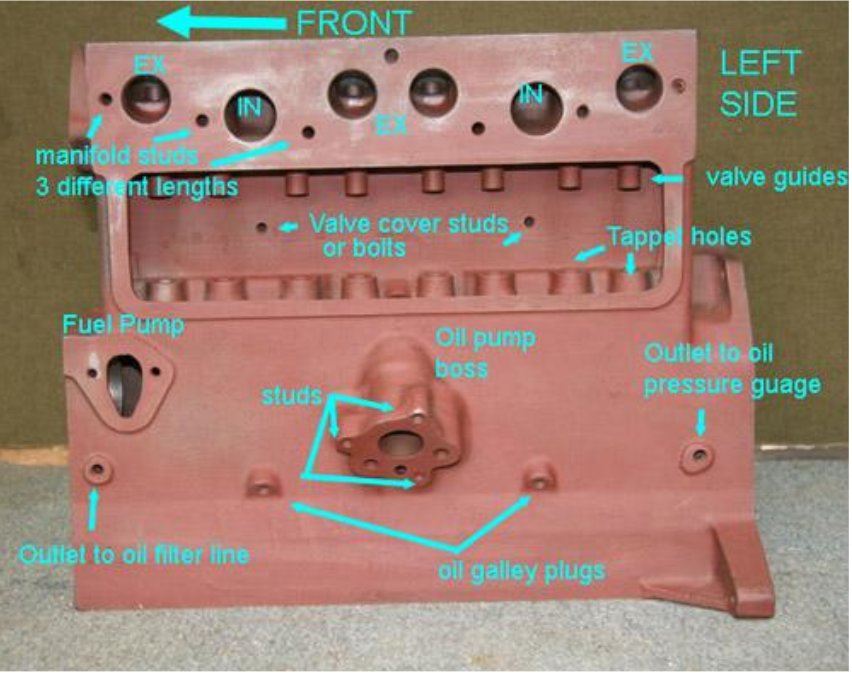
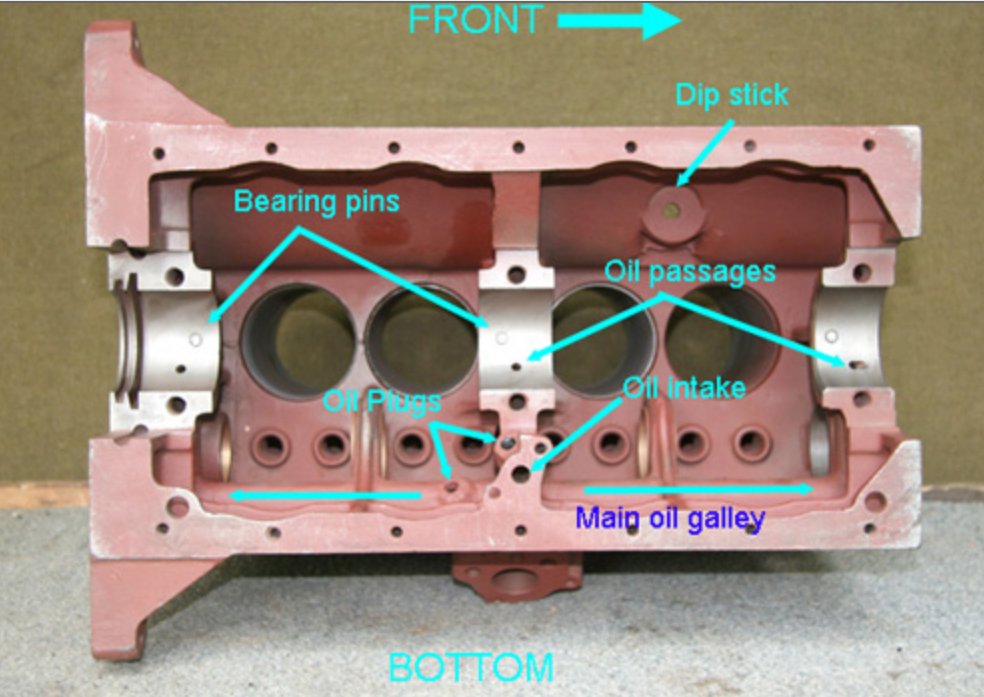
I am going to post pictures of stripped bare block. I want to show and label
every bolt hole, oil galley, plug, stud hole, etc, etc. I’m going to
discuss them and as I assemble, I’ll try to show the parts that fit and
give their sizes, etc. This is pretty basic, but again I’m hoping some
will see how it is not too complicated, and that they should try it.
pics of bare block.


Throughout all this work, I clean all holes, galleys, etc…I use compressed
air, bore brushes, thread chasers, taps, etc. I do it repeatedly.
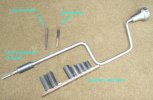
Pic of chasers.
This is because as I move the block around, new debris, especially from the
water jacket is falling around. When I actually get to install a bolt or
stud or part…I clean that specific hole again. This block had two broken
studs, that is not uncommon. I have found the back manifold stud broken many
times. With motor in jeep, that nut is very difficult to reach, bubba
probably torques it off with off center ratcheting etc. For that broken
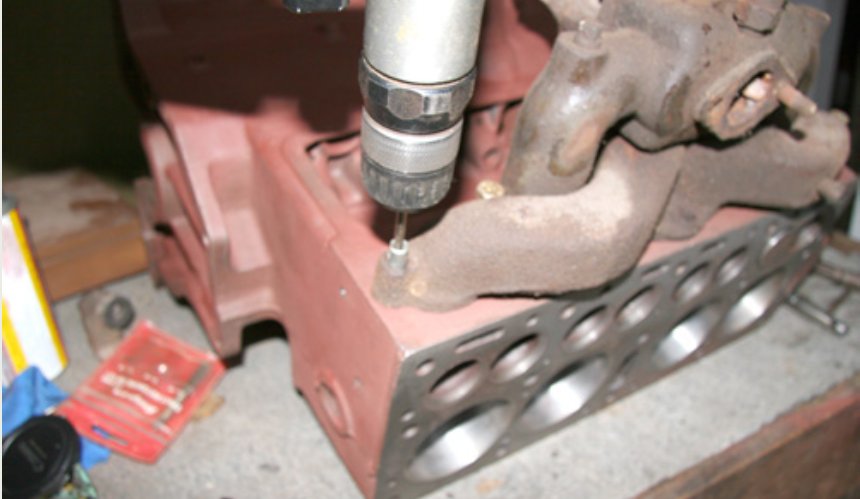
stud, I bolted up a manifold and used it for a centering jig to drill out
stud. I have a pretty good extractor set. For the other broken bolt in the generator mounting, I just used
a mounting bracket as a jig. Drill out broken
piece, inset extractor, turn out.
pic of broken studs
1 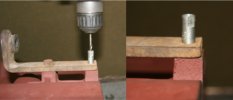 2 MISSING PHOTO
3 
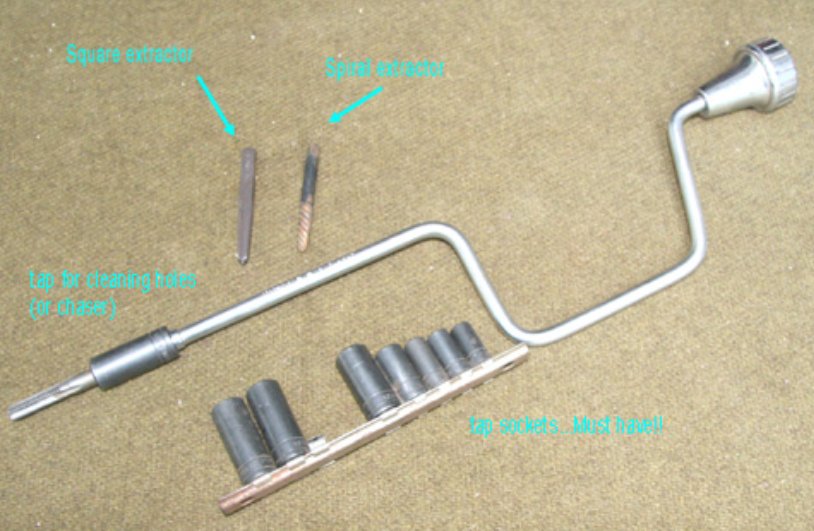
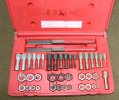
Pic of extractor set-one
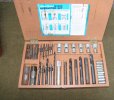
It includes sleeves for all size holes to use for drill centering
Pict of chasers, extractor-one
Block is now ready for assembly. This block has been baked and blasted. It
was very clean and porous, it would readily accept any paint. As a GPW, it
will wind up grey. The problem with grey is that you can miss a spot and not
see it. So, to protect, and to better see the finish coat, I primed it. It will
get oily, etc. But, in the end, a good wipe down with lacquer thinner will
prep it for final color.
On to the next part.
Thanks...John
Home
John Barton's Engine Rebuild
2
3 4
g503.com |